Editing is one of the essential parts of photography, and it can be challenging to know where to start. Whether you are a beginner or an experienced photographer, understanding how to edit your photos correctly is critical to taking stunning images.
In this guide, we’ll share the seven secrets every photographer needs to know regarding editing. From knowing the right tools to use to understanding how to adjust the exposure properly, these tips will help you take your photos to the next level.
So, if you’re ready to become a better photographer, let’s start!
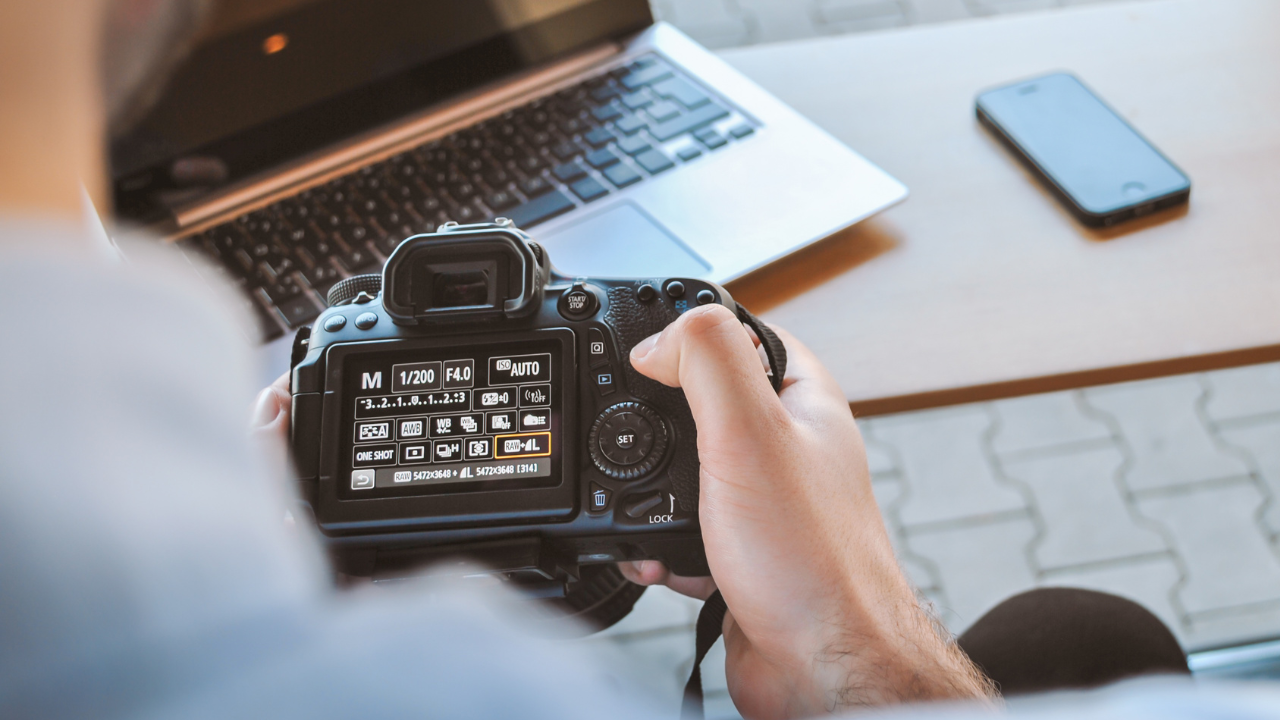
1- Shoot In RAW
If you’re serious about photography, shooting in RAW is a must. Shooting in RAW gives you access to much higher-quality images with better details and more control over how you edit them later. You’ll be able to get the most out of your photos with greater flexibility and more accurate colors.
What does this mean in practical terms? When you shoot in RAW, the captured image file contains much more data than a JPEG file. It means you have much more information to work with when you edit the photo in post-production. RAW files also capture a more comprehensive range of colors and tones, which can be manipulated and enhanced with greater precision.
Another advantage of RAW shooting is that it allows you to adjust white balance and exposure settings after you take the photo. If you’re shooting in a complex lighting situation, having the ability to change the white balance and exposure can save you time and effort in the long run.
The key takeaway here is to shoot in RAW whenever possible. You will get better images in general and have much more flexibility and control when editing your photos in post-production.
2- Get To Know Your Software
The most important thing to know when editing photos is the software you use. Taking the time to become familiar with the features of your chosen photo editing software is essential if you want to get the best results.
A few basics are crucial, such as learning to adjust white balance, exposure and contrast levels, or sharpen an image. But more advanced techniques, like creating masks and blending layers, can take your photos to the next level.
Once you have a good handle on the essential tools, it’s time to dive deeper and explore the more advanced features. Taking tutorials or reading online articles can help you learn about new tools and tricks that will help you make your images stand out from the rest.
Becoming knowledgeable about your software is an ongoing process, and keeping up with new releases and updates is essential. With new features and capabilities being added regularly, staying caught up is easy if you stay on top of what’s happening.
It’s also important to experiment and play around with the tools to determine what works best for you. So take some time to explore and get to know your software – it will pay off in the end!
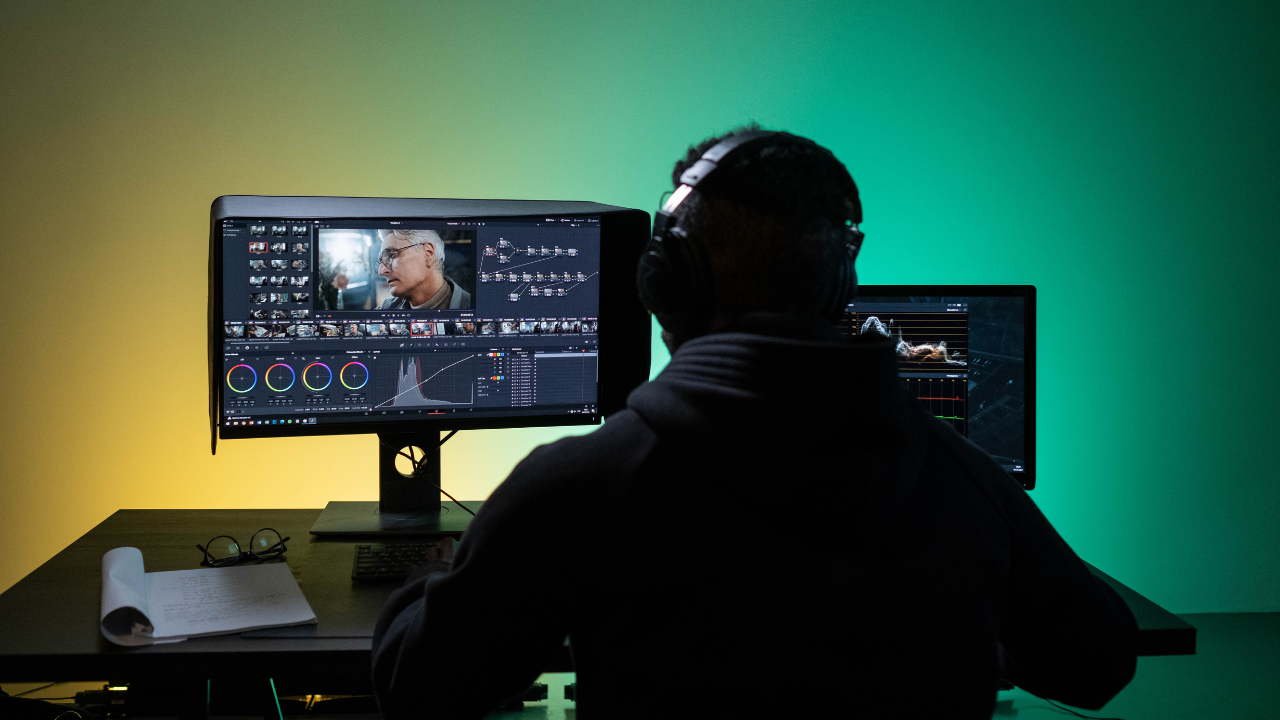
3 – Use A Calibrated Monitor
One of the most important secrets to successful editing is having a calibrated monitor. It’s easy to be deceived by how your images look on a laptop or cell phone screen, so it’s essential to use a monitor that accurately displays the colors and contrast of your photos. It will ensure that the colors you see on your computer are the same colors your prints will have.
To ensure accurate color representation, you should use a device called a calibration tool. This tool adjusts your monitor’s settings to reflect your photos’ colors accurately. To get started, purchase a calibration tool like a Datacolor Spyder X Elite or an X-Rite ColorMunki Photo. Follow the instructions to calibrate your monitor correctly, then follow up with regular maintenance checks.
So if you want to get the best results out of your editing efforts, investing in a good calibration tool is essential. By using a calibrated monitor, you can rest assured that the colors in your photos will be as you expected them to be. It allows you to make edits confidently and ensure that your prints will be what you envisioned.
4- Use Presets And Actions With Caution
Presets and actions can be a great time saver when editing photos, but they should also be used cautiously. Presets are a set of settings that can be applied to an image with the click of a button, while actions are a series of tasks that can be performed on a photo in one go. They can be a valuable tool for making quick edits, but it’s important to remember that they will only make your images look amazing.
Using presets and actions as starting points for your edits is best rather than applying them blindly. Adjust the settings to match your image, or use them as a starting point and make additional adjustments as you go. It’s also important to remember that presets and actions can affect the overall quality of your images, so it’s best to save a copy of the original before you start.
Finally, experiment with different presets and actions to find the best ones. If you’re just getting started with editing, getting familiar with some of the popular presets and activities available online and seeing what looks best on your images can be helpful. That way, you’ll better understand what settings and techniques will help you get the desired results.
5- Develop Your Style
Having your signature style is essential for any photographer looking to stand out from the crowd. Every photographer should strive to create a look that’s uniquely their own, allowing them to express their creative vision and tell their stories through their photos.
The best way to develop your style is to get familiar with the tools you have at your disposal and experiment. Play around with different photo editing techniques, such as adjusting the exposure, white balance, contrast, etc., until you find a combination that you feel looks best. When it comes to post-processing, there’s no right or wrong way to do it; it’s all about personal preference.
Another way to develop your style is to observe the work of other photographers whose work you admire. Pay attention to the kinds of edits they make and how they use color and light to create unique effects. Taking note of how other photographers edit their photos can give you ideas on achieving your unique look.
Developing your style takes time and practice, but be encouraged if it comes easily. By experimenting and learning from other photographers, you can gradually refine and hone your editing skills until you have a look that is uniquely yours.
6- Edit Selectively
Editing selectively is a vital part of creating beautiful photos. You want to avoid over-editing your photos, or they will look too fake and unnatural. Instead, you want to make subtle changes that enhance the photograph’s beauty without detaining from its natural feel.
When it comes to selective editing, you should keep a few things in mind. First of all, be sure to pay attention to the small details. You can adjust the brightness and contrast of certain elements, bring out details in the shadows and highlights, and adjust the color tones to create a certain mood. Be sure to take your time and experiment with different adjustments until you get the desired result.
Secondly, it’s important to remember that even the slightest adjustment can make a huge difference. For example, slightly adjust the saturation of a blue sky to make it pop or boost the clarity of a flower petal to make it look more detailed.
Finally, pay attention to the overall composition of your photo. Remember to evaluate the photo as a whole rather than just making changes to individual elements. Editing selectively means making adjustments that work together to create a harmonious whole.
By mastering the art of selective editing, you will be able to create photos that are beautiful and true to life. You will quickly adjust to taking your photos to the next level with practice.
7- Save Your Originals
No matter how much time and effort you put into your edits, it is always important to save your originals. Keeping the original version of an image will allow you to go back and make adjustments if needed. It also ensures that your original file stays intact should something happen to the edited version.
When saving your original image, using a lossless format like RAW or TIFF is best. It allows you to store the most information in the image and maintain the highest quality of your original file.
Keeping multiple versions of the same photo is also a good idea. This way, if you make changes to one version, you can compare it to the original. Additionally, it’s always helpful to have different formats of the same photo for other uses, such as web or print.
Finally, store all images on an external hard drive or cloud storage service if you’re shooting with digital equipment. It will help ensure that all your photos are safe and secure, even if something happens to your computer or camera.
By following these simple steps, you can ensure that you’ll always have a backup of your original image and be able to go back and make any adjustments needed in the future. Taking the time to save your originals can save you a lot of headaches down the road.
Conclusion
Editing can be a great way to take your photography to the next level. By taking the time to understand your editing software and utilize powerful tools, you can enhance your images and create unique art pieces.
With the proper workflow and organization, you can quickly and efficiently edit photos in bulk and ensure they’re backed up safely. By following these seven secrets, every photographer can confidently edit and enjoy the creative possibilities that come with it. Enjoy editing!