Like most people, you probably rely on your printer to help with work, school projects, and even everyday tasks like printing recipes or directions. But when a paper jam happens, it can be a real headache.
Fortunately, clearing a paper jam in your printer doesn’t have to be a long, complex process. This guide will cover five simple steps to quickly and easily clear a paper jam in your printer. Read on to learn how to get your printer back up and running quickly!
Preparation
When it comes to paper jams in your printer, the best way to avoid any damage is to prepare beforehand. Before you begin trying to fix the paper jam, make sure you’ve unplugged your printer from the power outlet. Also ensure that you’re working on a flat, stable surface.
Doing so will ensure that you don’t accidentally damage your printer or yourself while attempting to clear the paper jam. Once your printer is set up and ready to use, you can start fixing the paper jam.
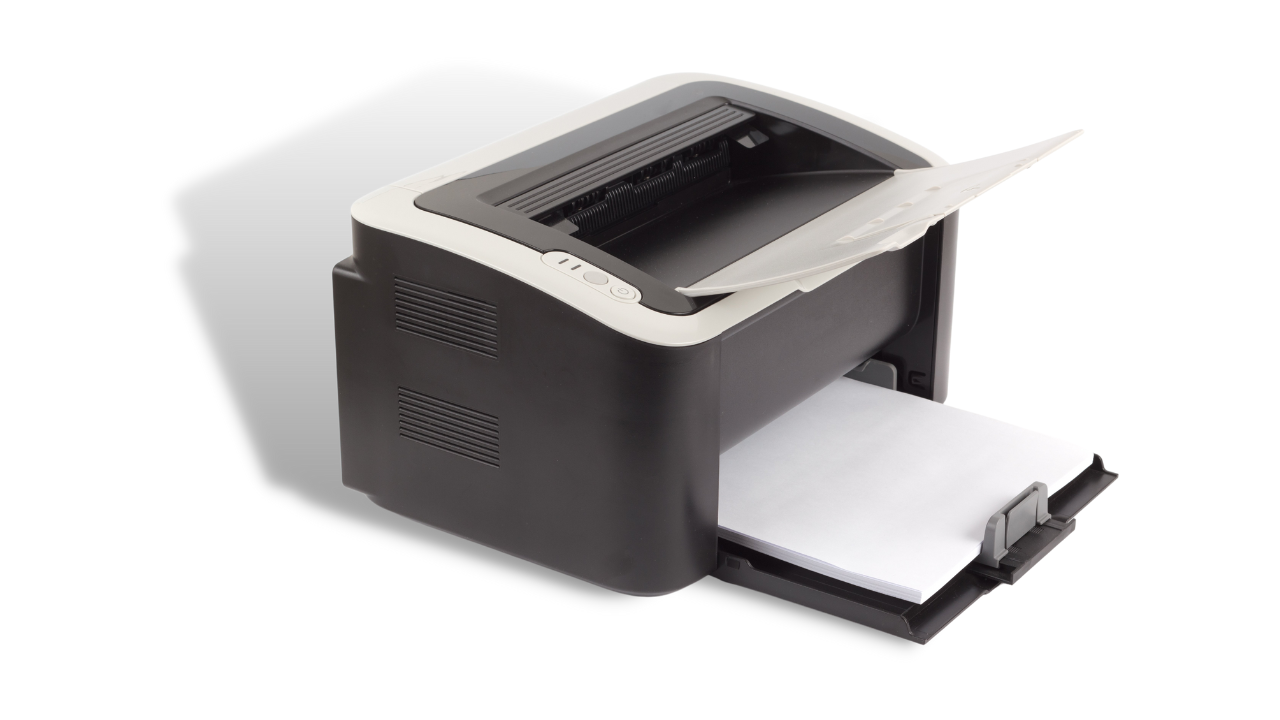
Open Up Your Printer
Opening your printer to remove a paper jam is not as intimidating as it sounds. Depending on the make and model of your printer. There are a few different ways to access the inside of the device.
You should be able to locate a small panel on the front or side of the printer for most printers.
If your printer doesn’t have such a panel, screws from the back to access the interior.
If you’re unsure how to open your printer, refer to the user manual for more detailed instructions.
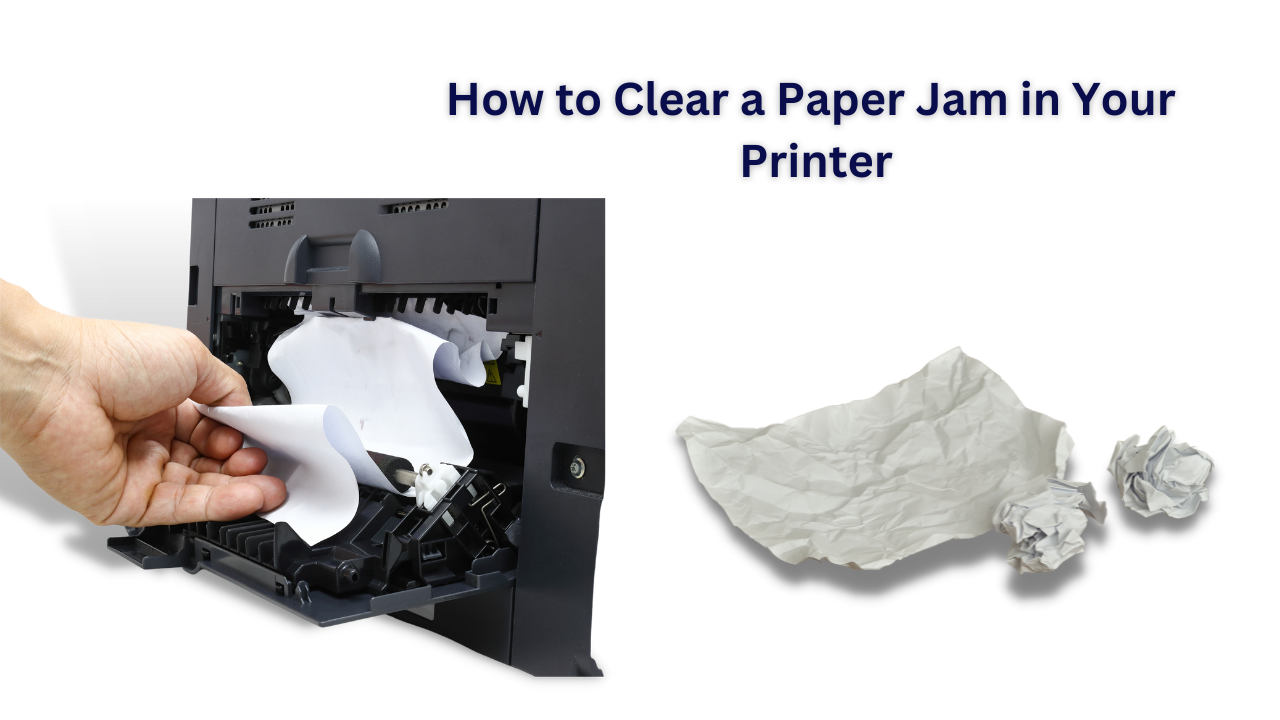
Take Out The Jammed Paper
Once you have opened your printer, it is time to take out the jammed paper. Start by taking a look inside the printer and locating the stuck paper.
In most cases, the paper will be near the paper feeder. Carefully remove the paper from the machine, taking care to avoid causing any further damage. If the paper is torn, be sure to remove all pieces of the paper.
If you are having trouble removing the paper, try using tweezers or scissors. Remove it carefully, carefully inspect the machine for anything that can cause a jam.
Remove any staples or other foreign objects that may have caused the jam. If no additional objects are present, you can close up your printer.
Check For Any Other Objects Inside The Printer
When it comes to clearing a paper jam in your printer, it’s important to make sure that you check for any other objects that may be causing the jam. Carefully check rollers around the printer because small pieces of paper can get caught in the printer and cause a jam.
Use tweezers or other non-metallic tools to gently remove the object if you find anything. Be sure to look around all sides of the printer, and don’t forget to check the bottom and the back of the device. If the object is stuck, try using a vacuum cleaner to help remove it.
After removing any obstructions, look carefully at the paper path to ensure that it is clear of any objects. If the bits of paper are still sticking around, gently remove them with tweezers or use a vacuum cleaner.
Once you have cleared the paper path and removed any obstructions. Close up the printer and run a test page to ensure your printer is working properly again.
Close Up Your Printer
Once you have checked that there are no other objects inside your printer, you can begin to close it up.
Start by ensuring that all the pieces are in their rightful places and that no pieces are missing. Once everything looks right, slowly close the lid of the printer.
Make sure not to force the lid shut, as this can damage the printer.
Once the lid is securely shut, you can turn on your printer and check if the paper jam is resolved.
If it has not been resolved, you may need to repeat the process or call a professional to help with your printer issue.
Additional Tips To Prevent Paper Jam In Your Printer
Check the paper type before loading it into the printer – Make sure you use the correct paper type for your printer model. Using the wrong paper can cause jams.
- Do not overload the paper tray – Make sure you do not overload the paper tray, as this can lead to misalignment and cause the printer to jam.
- Clean the printer regularly – Ensure that you are regularly cleaning the printer and checking for any debris causing a jam. Use a soft cloth to clean the printer and remove any debris.
- Avoid using torn or wrinkled paper – Torn or wrinkled paper can cause a jam in your printer, avoid using them.
- Choose appropriate print settings – Selecting an inappropriate paper size or type can result in a paper jam, so make sure you choose the right settings for your document.
- Store paper in a cool, dry place – Storing paper in a cool and dry place is essential to prevent jams. The humidity and temperature can affect how your paper feeds through the printer, so make sure you store it properly.
- Inspect the paper feed roller – Check the feed roller to make sure it is clean.
- Check for foreign objects – Inspect your printer for any foreign objects, such as staples, pins, coins, etc., that can cause a paper jam.
Following these tips will help you keep your printer running smoothly and reduce the chances of paper jam. Regularly cleaning your printer and properly storing paper will go a long way in preventing paper jams and other issues.
Conclusion
A paper jam in your printer can be a real pain, but it’s not an impossible task to tackle with the right knowledge and steps. Taking the time to open up your printer, remove the jammed paper, check for any other objects inside, and close it back up can help save you from a costly repair bill or buying a new printer altogether.
Additionally, following simple tips such as regular cleaning and maintaining your printer, always using the correct paper size and quality, and never forcing a paper jam can help prevent future issues. With these steps, you’ll be sure to keep your printer in top shape.