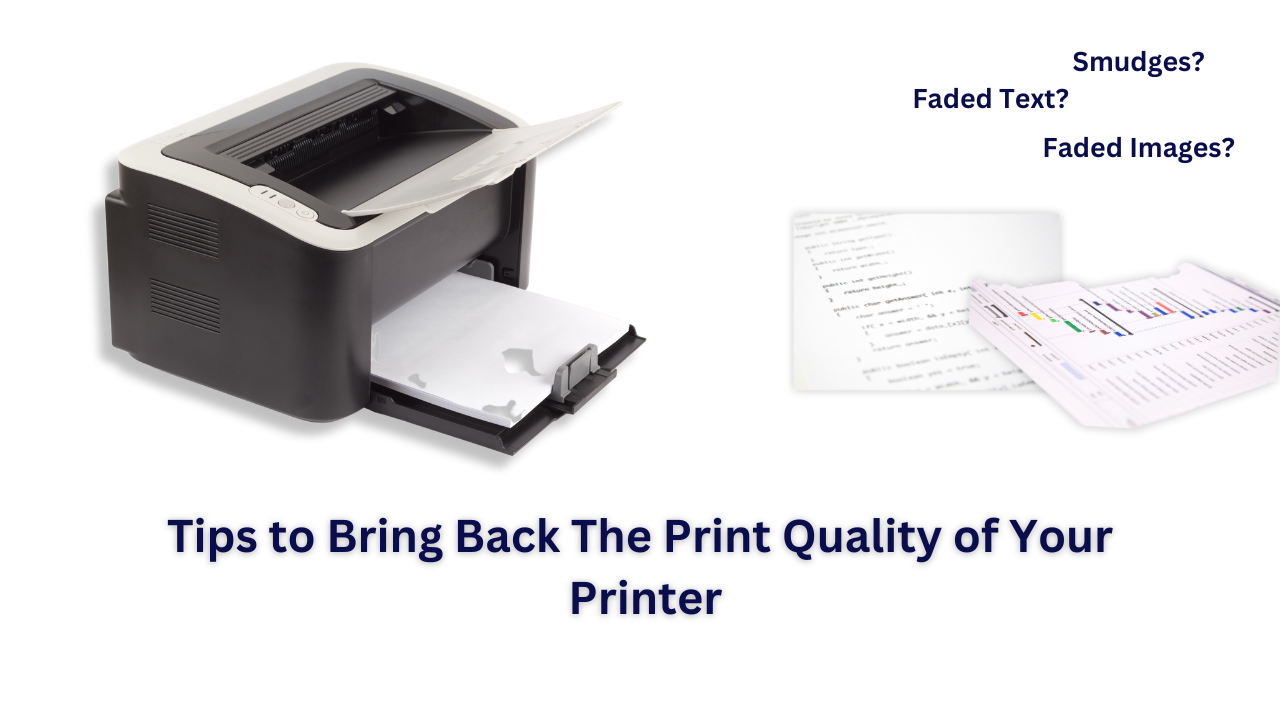
Do you frequently struggle with poor print quality? If so, you are not alone! Many people encounter streaks, smudges, and faded text or images when printing documents. If you are looking for an easy and effective way to improve the quality of your prints, this blog post is for you.
Here, we will provide a comprehensive guide to fixing print quality issues, so you can get back to printing documents that look crisp and clear. Keep reading to learn more about how you can troubleshoot and fix common print quality issues.
Check Ink Levels
If your print quality is fading, the first step is to check your printer’s ink levels. Printer ink is essential for printing documents and images with vibrant colors and crisp lines, so if the ink levels are low, this could be the cause of poor print quality.
To check the ink levels in your printer, open up the printer’s control panel and select the ‘Ink Levels’ option.
Here, you’ll see the exact amount of ink remaining in each cartridge. If any cartridges are empty or almost empty, you should replace them immediately to ensure optimal print quality.
Adjust Print Settings
Adjusting the settings of your printer may be a simple fix if the print quality is fading rapidly. Here are a few tips to help you get the best from your printer settings:
- Check the Printer Driver Settings: Ensure the driver settings you’re using are appropriate for the paper and output you expect. Different media types require different settings.
- Use Higher Resolution Settings: Using higher resolution settings can result in sharper lines and clearer images.
- Change DPI Settings: DPI (dots per inch) measures the resolution of printed images. Increase the DPI setting to create sharper images or reduce it to speed up printing.
- Print Grayscale Images: If you’re printing an image that includes many shades of grey, print it in grayscale instead of color mode to achieve better results.
- Set Color Options: If you’re printing a document that includes color images, adjust the color settings to get the desired result.
Following these steps, you can adjust your print settings and improve your print quality significantly. Remember that not all printers offer the same settings, so consult your printer manual or contact the manufacturer for more information on adjusting specific settings on your device.
Clean Your Printer
The quality of your prints may be affected by dirt, dust, or other buildups on the printer’s parts. Cleaning regularly is important to keep your printer in good condition.
Begin by switching off the printer and unplugging the power cord. Use a damp cloth and a mild cleaning solution to wipe down the outside of the printer. For more stubborn stains, a gentle household cleaner can be used. Be sure to only use products that are suitable for plastic surfaces.
Next, use a soft brush or cotton swab to dust off any debris or buildup from around the printer’s paper tray and inside its print heads. Be sure to do this carefully and gently, as these parts are delicate and easily damaged.
After cleaning, it is important to check the printer’s manual to find out how to properly install and align the ink cartridges. It will ensure your prints come out clear and free of smudges or streaks. Finally, use a small brush to remove any dust or particles from the printer’s rollers or any other parts that may affect the quality of your prints.
Regularly cleaning and maintaining your printer ensures that your prints look crisp and clear each time.
Check for Software Updates
Keeping your printer updated with the latest software is key to ensuring it operates properly and the print quality is not fading away.You can easily check for available updates on the manufacturer’s website or use the printer’s built-in control panel to perform a software update. To check for software updates via the control panel:
- Open the printer’s control panel and navigate to the “Settings” menu.
- Select the “Software Updates” option.
- Your printer will search for available updates and prompt you to install them if any are found.
- Follow the instructions appearing on-screen to complete the update process.
Regularly updating your printer’s software ensures that your device is running smoothly and delivers quality prints. With the latest features and bug fixes, you can enjoy the improved print performance and better results.
Use Higher Quality Paper
When getting the best print quality, using higher-quality paper is essential. While standard printing paper can produce satisfactory results, better results can be achieved with thicker, more expensive paper. This type of paper is often referred to as photo or glossy paper, providing a crisper, more vibrant look. Not only that, but the higher quality paper also reduces smudging and streaks that are common with standard paper.
Using this type of paper isn’t just for photographs either. If you’re printing text-heavy documents like reports and newsletters, investing in higher-quality paper will ensure your words look sharp and vibrant. When selecting paper for these types of projects, look for labels like “premium” or “photo,” which indicate higher quality.
Another key factor to consider when selecting a type of paper is its weight. Thicker paper usually has a higher weight, ranging from 28 lb to 32 lb or higher. The ideal weight for a document or photo should be determined by the type of project you’re working on and the printer you’re using. It’s always a good idea to consult your printer’s manual before buying a particular type of paper to ensure it’s compatible with your device.
Using higher-quality paper is one of the easiest and most effective ways to improve print quality. Investing in the right kind of paper can make all the difference in terms of readability and clarity and is an essential component of achieving excellent prints.
Calibrate Your Printer
It is essential to calibrate your printer to ensure that you get the best possible print quality. Depending on your printer type, calibration can involve setting the resolution and print quality settings, adjusting the margins, and optimizing the color balance. The exact steps will vary depending on your printer model, but the general process is relatively simple.
Most printers have a “Calibrate” button, or you can find the calibration settings in the printer driver software. You may need to adjust the paper size and other settings, such as dpi (dots per inch).
Once you’ve entered the appropriate settings, select the “Calibrate” button to start the process. The printer will go through a series of tests necessary for calibration, including a page feed test and a nozzle check. This process may take several minutes, and once it’s complete, your printer should be calibrated and ready for optimal print quality.
It’s important to periodically calibrate your printer to ensure you get the best print quality possible. Doing so can also help prevent streaks and smudges from appearing on your printed documents. If you experience any issues with your print quality after calibrating, it might be time to consider replacing your printer.
Conclusion

It’s never fun to print documents or photos only to find that the print quality is fading. Whether it’s streaks, smudges, or faded text or images, you can take steps to improve your printer’s print quality.
Check your ink levels, adjust your print settings, clean your printer, check for software updates, use higher-quality paper, and calibrate your printer—all of these steps can make a big difference in the quality of your prints.
With some effort, you caneasily get back to enjoying high-quality prints from your printer!